
Understanding the Northern Lights: What Are They and When to See Them?
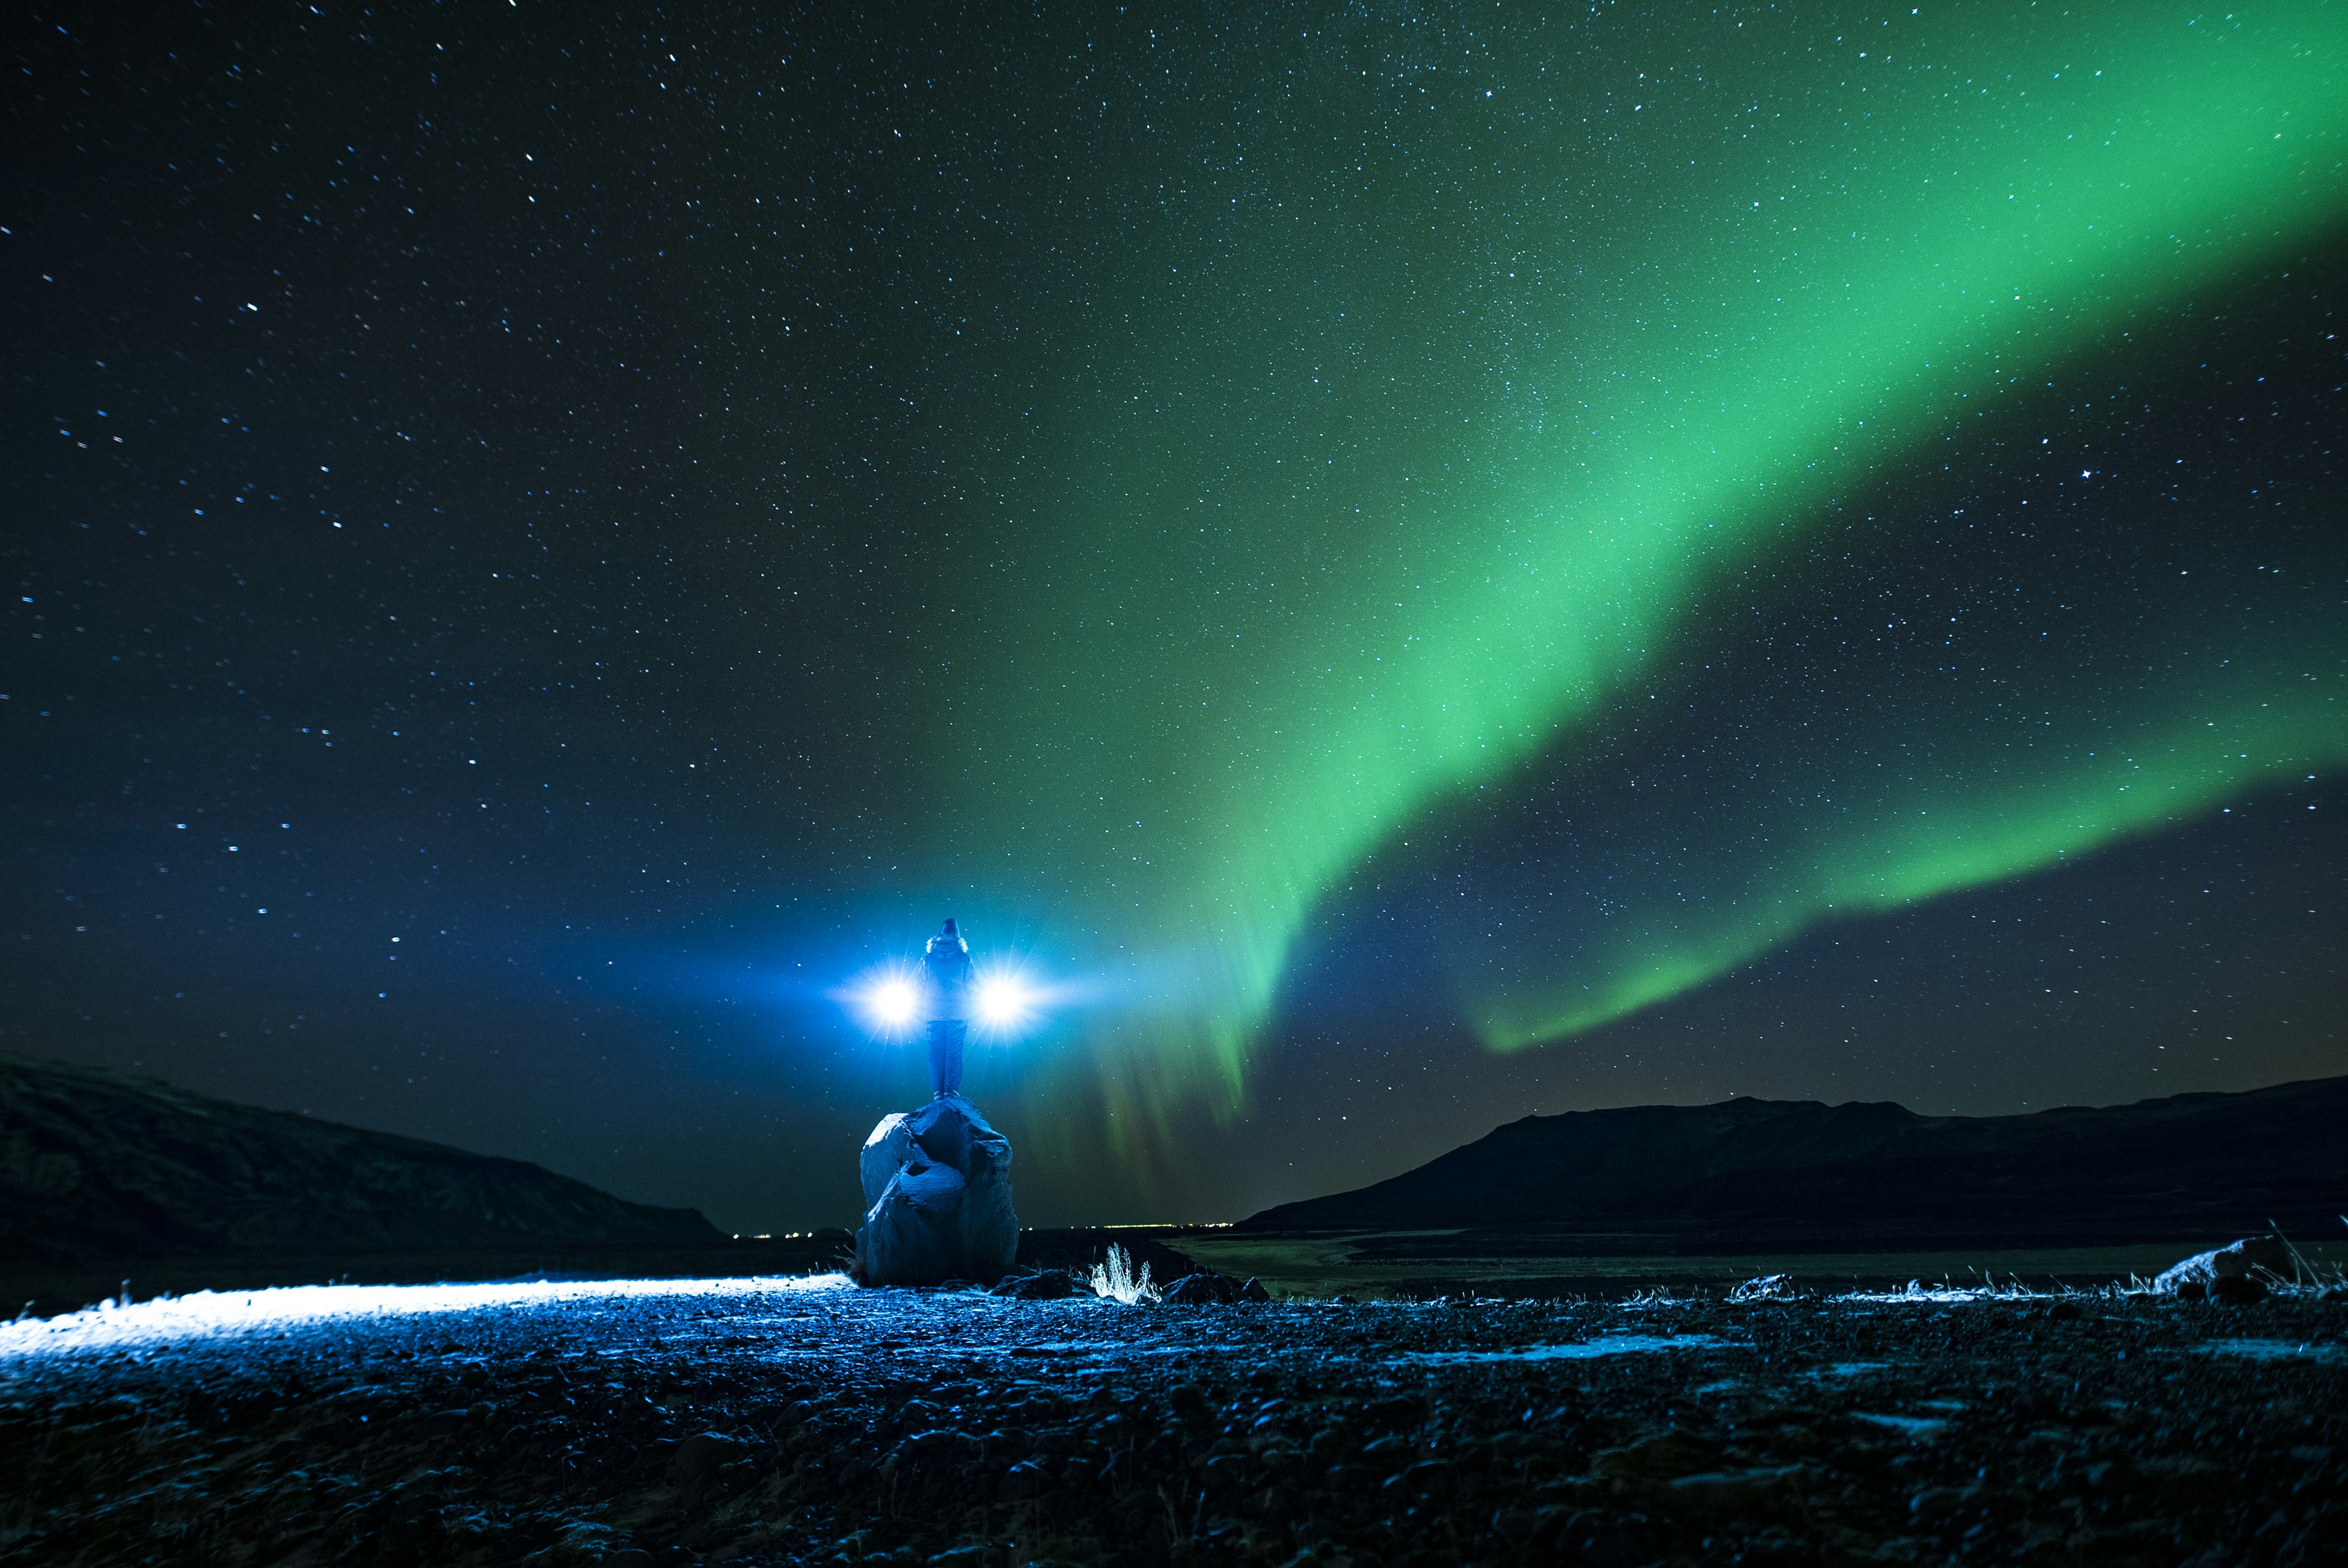
The sky looked broken at first.
A faint green bruise on the horizon, flickering like a bad neon sign. I remember thinking, “Is that it? Did I really travel all this way for… that?”
And then it happened.
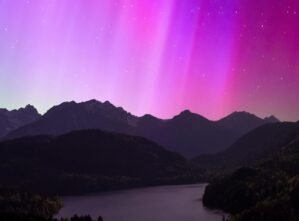
The green deepened, stretched, and suddenly the whole sky was moving. Waves of light rolled above my head, purple and pink flames spilling over the stars. For a few minutes, nobody spoke. Every camera was forgotten. It was just us and a sky that refused to sit still.
If you’ve been scrolling through perfect Instagram photos of the aurora and wondering how to see the real thing with your own eyes, this guide is for you. I’ll show you:
- When to go (and when it’s a waste of money)
- Where your chances are actually good, not just “tourist brochure” good
- The biggest mistakes first‑timers make that almost guarantee they see nothing
By the end, you’ll know exactly how to turn “maybe we’ll get lucky” into “we saw the lights, twice, in one trip.”

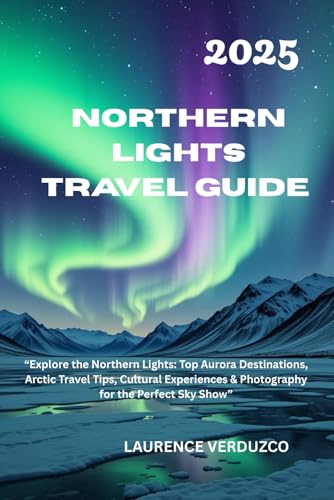
The Northern Lights, scientifically known as the Aurora Borealis, are a spectacular natural phenomenon that captivates observers in the Arctic and Antarctic regions. Occurring when charged particles emitted by the sun collide with the Earth’s atmosphere, these vibrant lights create stunning visual displays ranging from delicate greens to deep reds and purples. The phenomenon is predominantly seen between latitudes of 60° and 75° north and south, where the Earth’s magnetic field is most concentrated, providing an ideal platform for these electrifying displays.
It was late August, my family and I went to the river, sat on the river bank and waited for the Northern Lights. To be surrounded by family and seeing the night sky turn into a Beautiful Light Show was a feeling I will never forget!
The science behind the Northern Lights involves solar wind, which is a stream of charged particles from the sun. As these particles travel through space and reach the Earth, they interact with the Earth’s magnetic field. This interaction excites atoms in the atmosphere, mainly oxygen and nitrogen, resulting in the release of energy in the form of light. The altitudes at which these reactions occur primarily determine the colors displayed; for instance, oxygen above 150 km can generate red and green hues, while nitrogen can produce purple and blue shades in lower altitudes.
To maximize the chances of witnessing this celestial wonder, it’s beneficial to consider the timing and location. The best periods to observe the Aurora Borealis are during the winter months—from late September to late March—when nights are longest and skies darkest. Geographic locations renowned for frequent sightings include northern parts of Canada, Alaska, Norway, Sweden, and Finland. However, clear, dark skies away from artificial light are essential for an optimal viewing experience. Patience and preparedness play crucial roles in this venture, as conditions can vary unpredictably.
The correct type of camera will do wonders!

- Stellar Image Quality: Canon EOS R100 4K digital camera with 24.1 megapixel CMOS (APS-C) sensor for superb image clarity…
- Compact Design: Compact, lightweight EOS R series 4K camera with an affordable price; smallest and lightest camera body …
- Powerful Image Processor: DIGIC 8 image processor allows for improved shooting functionality and 4K video capability; EO…

- Items Included: Canon EOS R100 Mirrorless Camera, LP-E17 Lithium-Ion Battery Pack, LC-E17 Charger Canon R-F-5 Camera Cov…
- Beginner-Friendly Mirrorless Power: The Canon EOS R100 offers an accessible entry into mirrorless photography with a 24….
- Versatile RF-S 18-45mm Lens Included: This kit comes with the Canon RF-S 18-45mm f/4.5-6.3 IS STM lens, perfect for gene…
Choosing the Right Location: Top Destinations for Aurora Viewing
If you’re planning your first Northern Lights trip and don’t know where to start, this guide is for you.
When it comes to witnessing the captivating Northern Lights, the choice of location is paramount. There are several renowned destinations across the globe that offer exceptional opportunities for aurora viewing. One of the most popular is Tromsø in Norway. Nestled within the Arctic Circle, Tromsø boasts a combination of favorable weather conditions and accessibility. It functions as a prime launching point for excursions into the wild, where travelers can escape light pollution and immerse themselves in the natural beauty surrounding them.
Another prominent destination is Fairbanks in Alaska, acclaimed for its long aurora season from late August to April. Fairbanks provides various amenities catering to aurora seekers, including guided tours and local experts who assist in maximizing the viewing experience. The city is also relatively easy to reach via its airport, making it a convenient option for international travelers.
Yellowknife in Canada is another noteworthy location, famed for its clear skies and frequent aurora displays. Situated on the shores of Great Slave Lake, it offers a unique landscape that enhances the viewing experience. The local culture and myriad excursions available add to its allure, giving visitors the chance to engage with both nature and indigenous heritage. Selecting the right spot for observing the Northern Lights should also involve considering local weather forecasts, light pollution levels, and accessibility to vantage points. It is advisable to check reports on auroral activity and engage with resources dedicated to aurora tourism to ensure a fruitful experience.
Preparation Tips: What to Pack and How to Dress for Comfort
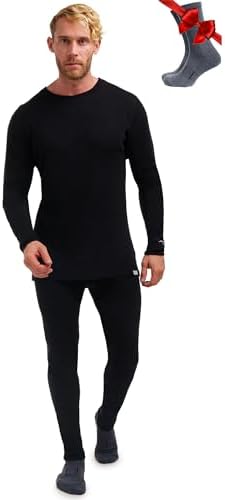
Witnessing the Northern Lights is a breathtaking experience, but adequate preparation is crucial for enjoyment and comfort. First and foremost, one must dress appropriately, as temperatures can plummet in areas known for auroral displays. The key to staying warm lies in layering. Start with a moisture-wicking base layer to keep sweat away from your skin. Thermal undergarments should follow to provide an added layer of insulation.
Agood-quality insulating layer, such as fleece or down jackets, keeps body heat from escaping. It is advisable to finish with a waterproof and windproof outer shell. Don’t forget adequately insulated gloves, a warm hat, and thermal socks, as extremities are particularly vulnerable to cold temperatures. Prioritizing thermal boots is also essential, as they not only keep your feet warm but also provide stability on potentially icy terrains.
In addition to clothing, packing essential equipment can enhance your experience. A good camera is a must for capturing the beauty of the auroras. A DSLR or mirrorless camera with manual settings allows for adjustments in exposure while a sturdy tripod ensures stability during long exposure shots. Remember to bring extra batteries, as cold weather can quickly drain their power. A wide-angle lens is often recommended for taking in the expansive night sky.
Consider packing snacks and hot drinks to keep your energy levels up during the wait for the lights to appear. A thermos filled with hot chocolate or coffee can be a comforting addition as temperatures drop. Additionally, having a flashlight or headlamp can help navigate dark areas safely. Preparing in advance not only enhances your comfort but also enriches your overall Northern Lights experience, ensuring that you can fully appreciate this natural wonder.
Making the Most of Your Experience: Photography Tips and Local Customs
Capturing the mesmerizing beauty of the Northern Lights requires careful planning and knowledge of photography techniques. Before you embark on the adventure, it’s crucial to be equipped with the right camera gear. A DSLR or mirrorless camera is highly recommended, as these types typically offer the flexibility needed to manipulate settings for low-light conditions. A sturdy tripod is essential to prevent camera shake during long exposure shots, ensuring you capture the vibrant colors and intricate movements of the aurora.
When setting up your camera, utilize settings that maximize image quality in low light. Start with a wide aperture (f/2.8 or wider) to allow as much light in as possible. Set a higher ISO (between 800 and 3200) but be cautious as too high may result in noise. Exposure times should vary based on the intensity of the lights, generally ranging from 5 to 30 seconds. Using manual focus can be beneficial since autofocus may struggle in dim conditions.
Taking the time to familiarize yourself with local customs and respectful tourism practices is equally important. Engaging with local communities can deepen your appreciation for the Northern Lights. Always follow guidelines about observing wildlife and natural landscapes to minimize environmental impact. When photographing in local areas, respect private properties and cultural sites, asking for permission whenever necessary. Participate in guided tours led by local experts who respect both the natural and cultural landscapes; this not only ensures a better experience for you but also supports sustainable tourism.
By combining effective photography techniques with an understanding of local customs, you can enhance your Northern Lights experience while fostering a sense of responsibility towards the amazing environment and culture around you.
Recommended Gear for Your Northern Lights Trip
Seeing the aurora is magical – but it’s also cold, dark, and often windy. These are the exact types of items that make the difference between a miserable wait and an unforgettable night.1. Stay Warm (So You Can Actually Enjoy the Sky)
- Thermal base layer set – A good set of thermal top and leggings keeps your core warm so you can stand outside for hours
- Merino wool socks – Regular cotton socks get cold and stay cold. Merino wool keeps your feet warm even if they get a bit damp.
- Insulated winter boots – Look for boots rated for sub-zero temperatures with good grip for ice.
- Hand and toe warmers – Small, cheap, and a life-saver when you’re standing still watching the sky.


2. Get the Shot (Beginner-Friendly Photography Gear)
- Compact travel tripod – Essential for sharp aurora photos; handheld shots will almost always be blurry.
- Phone tripod with mount – If you’re shooting with a phone, a stable tripod + night mode can still capture the lights.
- Headlamp with red light mode – Keeps your hands free and preserves your night vision while adjusting camera settings.
- High-capacity power bank – Batteries drain fast in the cold; a power bank can save your phone or camera on a long night.

- 【Precision and Stability: Dual-Handle Triumph】 Seize control with our innovative dual-handle tripod design, providing pr…
- 【Enhanced Versatility in Photography】 The innovative dual-handle design of our camera tripod introduces a new level of f…
- 【High Compatibility 】A Camera Stand for All Cameras (Nikon D3500, Fujifilm X-T200, Canon EOS 250D, Olympus, Panasonic), …
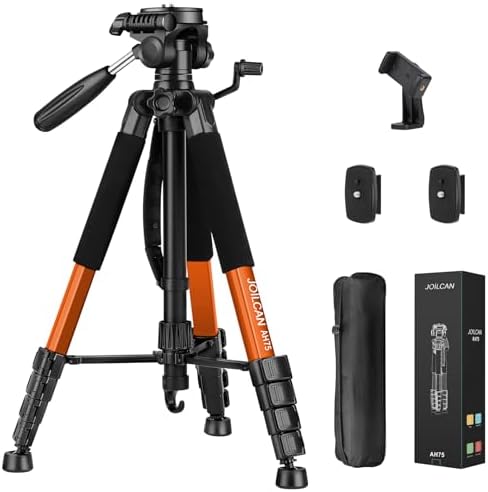
- 【Lightweight & Easy to Adjust】Upgraded trapezoidal flap lock tripod adjusted from 19.5″ and 74″ to meet different height…
- 【Durable & Horizontally Stable】Professional tripod for camera and phones provides ultra stability and steadiness for var…
- 【Tripod for Camera and Phones】Quick-release plates and phone hodler maximize the compatibility to the greatest extent. S…

- 5000K White LED 90 CRI: White light for a remarkable color rendering and nice comfortable white beam. Delivering a max o…
- Deep Red LED 660nm: Red light in the wavelength of 660nm protects your night vision, keeps your peripheral vision and he…
- USB C Rechargeable & Power Indicator: permits the headlamp to charge the battery(Included) much more conveniently, savin…

- Ultra-Slim and Portable: At just 0.58 × 2.78 × 4.09 inches, this 10,000mAh Anker power bank delivers exceptional portabi…
- Versatile Charging Options: Equipped with a 15W max Qi wireless charging pad and a 30W max USB-C port, you can effortles…
- Premium Design and Durability: Featuring a sleek matte finish, a sturdy metal frame, and aerogel thermal insulation for …
3. Plan Like a Pro
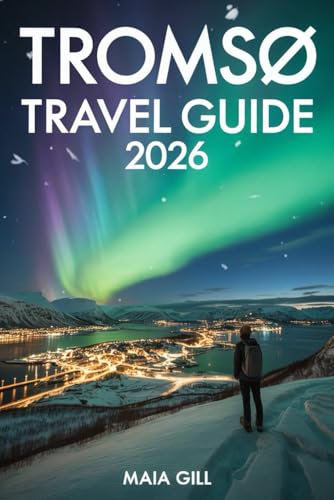
- Northern Lights guide book – Great for understanding forecasts, locations, and what conditions actually matter.
- Destination-specific winter guide – Choose one that matches your trip (e.g., Iceland, Norway, Finnish Lapland).
4. Comfort While You Wait
- Insulated flask / thermos – Hot tea or chocolate makes waiting outside so much nicer.
- Small foldable stool or seat pad – Perfect if you’re at one spot for hours and don’t want to sit in the snow.

- THE LIFE OF THE PARTY: The Stanley 8oz Pre Party Flask is the perfect accessory to kick off any fun night out with frien…
- COLORFUL AND STYLISH: Available in a variety of fun colors, the Stanley 8oz Pre Party Flask is sure to make a statement….
- COLORFUL AND STYLISH: Available in a variety of fun colors, the Stanley 8oz Pre Party Flask is sure to make a statement….
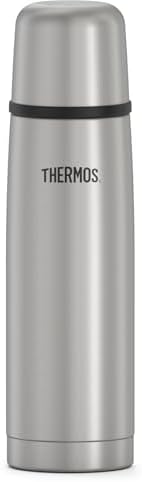
- Thermos vacuum insulation technology for maximum temperature retention
- Durable stainless steel interior and exterior
- Exterior stays cool to the touch with hot contents and sweat-proof with cold

- OUTDOOR LIVING. Great for relaxing by the campfire or sideline, the Freestyle Rocker XL from GCI Outdoor is an oversized…
- A FRONT ROW SEAT. Perfect for sports games or backyard lawn BBQ thanks to a higher and broader backrest for support, a b…
- CUTTING-EDGE DESIGN. Shock absorbers with patented Spring-Action Rocking Technology let you gently rock on flat, hard or…

- [Upgraded & Durable] – HaSteeL 2 foldable camping chairs are made of 600D oxford fabric and steel pipe combination, Feat…
- [Ergonomic Principle] – Full backrest and armrests provide targeted support to extend your body, Maintain your overall c…
- [Solid Construction] – Weight capacity reaches to 275 pounds without falling apart, Double-layer of fabric and stitches …
Final Thoughts
Seeing the Northern Lights isn’t just about getting lucky – it’s about being prepared. If you choose the right time, the right place, and bring the right gear, you give yourself the best possible chance of watching the sky come alive.
If you’re planning your own aurora trip and have questions, feel free to leave a comment below – I’d love to help. And if you found this guide useful, please share it with someone you’d love to stand under the Northern Lights with.
As an Amazon affiliate, I earn from qualifying purchases.